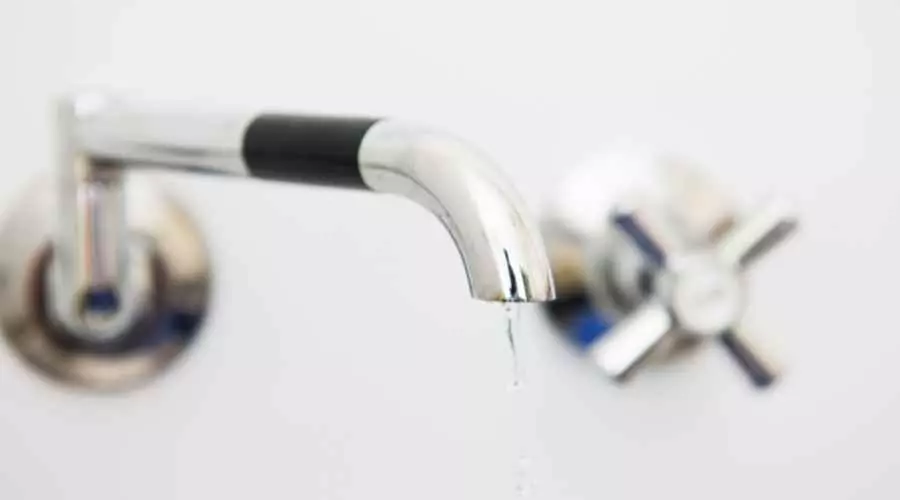
When a faucet starts dripping, the problem is often caused by a component that has been worn out. The position of the leak, in addition to the functionality of the faucet, is going to be the primary factor in determining how you should go with the repair. Compression, disc, cartridge, and mechanism faucets are the primary variants from which you may choose when purchasing a new fixture for your kitchen or bathroom sink.
Before beginning any attempt to repair a leaking faucet, you must first identify the kind of faucet that is in use. This will allow you to better understand where to begin making repairs. You are going to need the following things in order to get started, and they are as follows:
When it comes to widespread faucets, it’s common practice to hide the valves under attractive covers of some kind. It is recommended that you make an effort to remove the trim piece even if the valve assembly often has a narrow thread. Find the screw that secures the handle to the main body of the product by looking below each knob. These screws are located on the underside of the knobs. After the screw has been unscrewed, the handle will be removed carefully after it has been removed. On rare occasions, the handle of the faucet could be difficult to release from the stem of the faucet. Applying WD-40 to this area can assist to loosen it up and get it moving again.
Once the packing nut has been taken off, you should be able to view the stem. It is necessary for you to delete the whole of this section. As a result of this modification, the behavior of some faucets will now alter depending on the way in which you contact them. For instance, the stems of certain valves may twist, but the stems of other valves may burst off the valve when the valve is removed. Kindly remove everything while being as careful as possible. You need to take precautions to avoid the chance of causing damage to a component since doing so might make the issue with the dripping faucet much more severe.
If your sink is less than 25 years old, there is a good chance that it still contains the original cartridge inside of it. Due to the fact that the chairs have been used intermittently for the last 25 years, it is likely that they are beyond repair. Utilize a pair of channel-locking pliers in order to facilitate the removal of the cartridge in as linear a fashion as possible. Because the scale construction has cemented these cartridges in place, it is possible that they will be difficult to remove at times. This might be the case in a few different scenarios. You should be able to loosen it up in the end if you give it a little movement as you’re taking the cartridge out of the machine. If you are unable to remove it yourself, you should get in touch with a licensed plumber for assistance. To assist you with removing cartridges, there are many instruments at your disposal.
Specialized Equipment
Having all of the necessary tools on hand can help you save time. Ideal requirements are:
- A vice/grip for a table
- Silicone Lubricant for Screwdrivers
- Pick pliers or a little wrench
- Fresh o ring! preferably from a reputable o-ring source
At this stage, everything ought to be kept in the position in which it is now found. Check out the washer as well as the O-ring that is situated within the valve seat. When this component sustains damage that is beyond repair or when the seal begins to wear down, leaks often occur as a result. It is going to be replaced with a brand new washer, and the old one is going to be taken out of service and thrown away.
Due to the frequency with which damage occurs to this component, the O-ring should also be changed. Before you replace your O-rings and washers, you should double-check that everything fits together correctly. If you are unsure about any of these things, examine the seat to see whether or not the flat washer will fit between the sides. It’s possible that you need to go out and buy something in a larger size.
If you are having problems obtaining an O-ring of the appropriate size, you should visit a hardware store instead in order to get a perfect fit. In the event that you are unsure, examine the seat to see whether or not the sides conform to the cone-shaped design. After that, you may go ahead and buy the appropriate O-ring. Instead of taking an old O-ring with you to the hardware store, you may find it more convenient to buy a pack that has a variety of O-rings in a range of sizes. Getting the correct size will be well worth the additional money, despite the fact that this may be the case.
You must put the pieces back together after you have them. When putting it back together, the following steps will be performed in order:
What To Do Next
After taking it apart and putting it back together, you need to check to make sure that the faucet does not leak anymore. If it occurs, the problem may be more serious than just a blown O-ring. The next possible problem is often rusted on the valve seat.
This happens when the part continues to get dirty over time, which eventually leads to a leak occurring closer to the spout of the faucet. If it doesn’t work, other possible problems with your leaky faucet include loose components, worn-out seals, or broken pipes. If none of these methods worked, it may be time to call in the big guns and hire a plumber. If you’ve already done so, skip this section.
In Conclusion
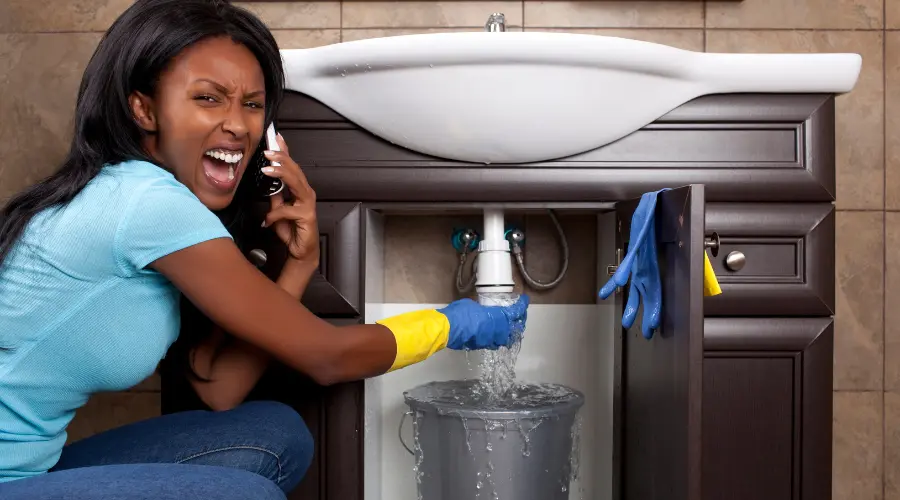
In the event that this does take place, you will need to determine where the water first enters the home in order to be able to shut it off. It is important to keep in mind that if you turn off the water valve, the whole home will cry out for water. However, there are times when it is necessary in order to make a repair.